- From the navigation bar on the left hand side go to the create orders tab
- Pickup location
-
- If you have multiple locations make sure you are clicking on the right one.
-
- Pickup date
- This can either be today’s date or future date.
- Format is year, month, day or click on the calendar icon on the right hand side to click the date from a calendar.
- Pickup time
- This is the window that a driver will be there to pick up the order(s).
- Orders must be entered at least 60 minutes before the pickup window begins.
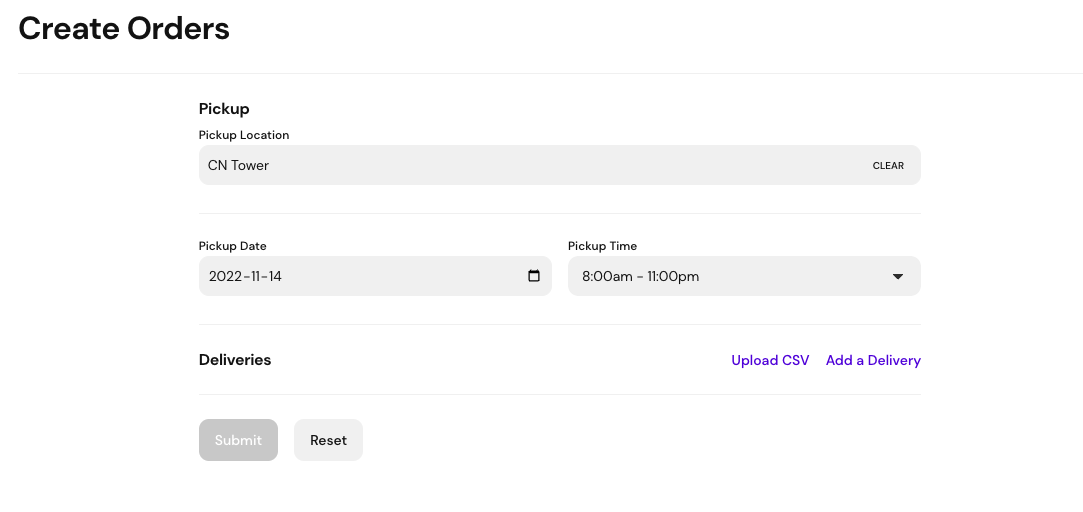
- Click add a delivery
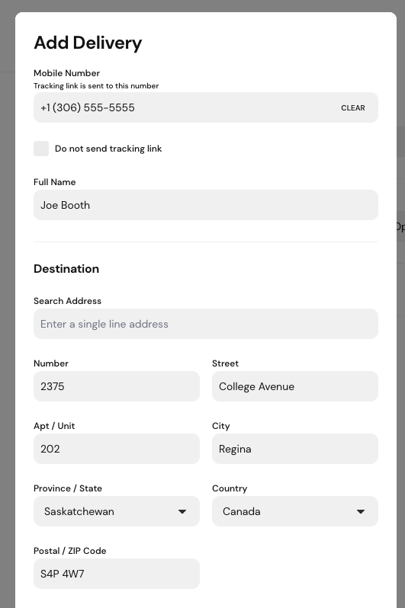
- Enter the recipient’s cell phone number. This will send a tracking link to the customer to view when their order is on its way and delivered.
- Enter the first and last name of the recipient.
- Enter the destination of the recipient. Enter the address in the search address field to allow Google Maps to auto-fill the address fields. Once the fields have been auto-filled, please ensure the information is correct and any apartment/unit number is entered if necessary.
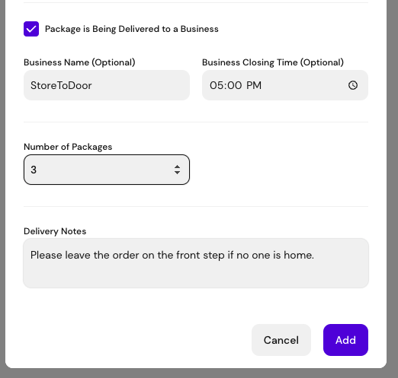
- If the package is being delivered to a business click the checkbox (optional)
- enter the business name
- Enter the business closing time
- Enter the number of packages being delivered to the recipient.
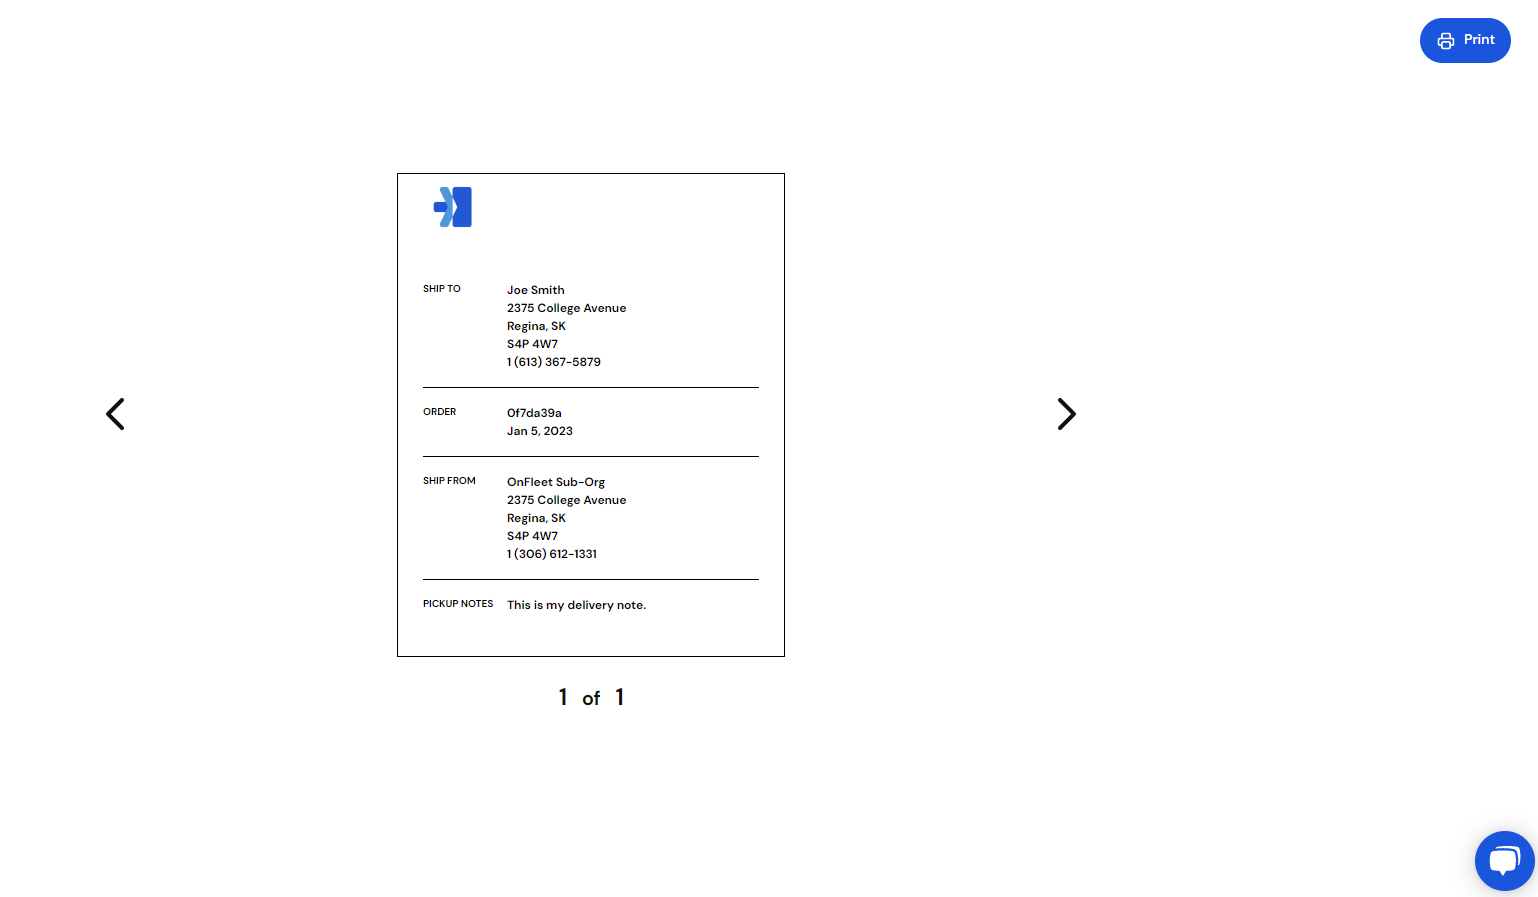
- Enter any delivery notes (if applicable). These are visible to both our dispatchers and the driver, and will also be shown on the order label.
- Click the add button on the bottom right hand side.
- If you have more deliveries you would like to add, you can do so by clicking add a delivery again to enter the delivery recipient’s information.
- Once you have added all of your deliveries, click the submit button.
- Submit and print labels - Recommended as you can print the labels to stick them on the appropriate package(s).
- Submit order - You can later print labels if you forget.
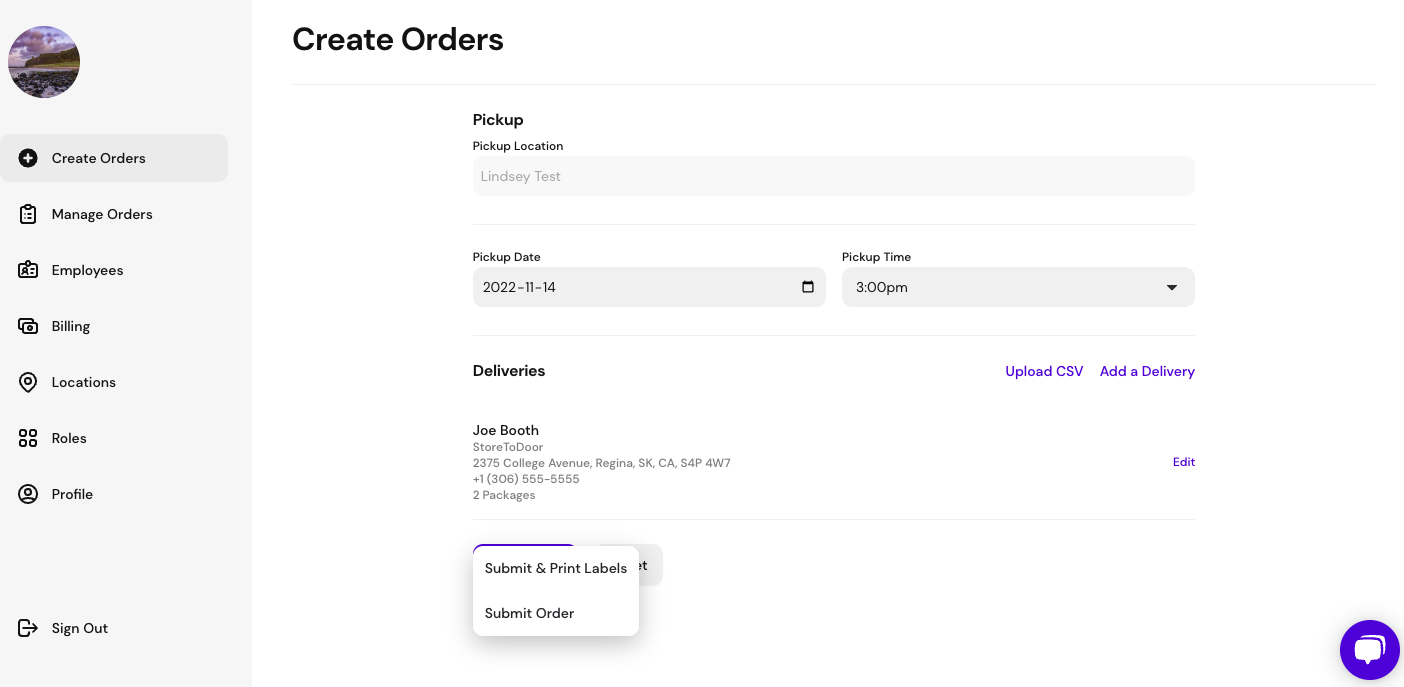
- Submit and print labels - The labels will automatically open in a new tab for you to print and stick on the orders.
Watch the help video here:
