Start sending branded email notifications to your customers. First, you will need to set up your email notification configuration.
Setup Email Configuration - on your end
-
Start by logging into your own email provider and following the step-by-step instructions below for either Microsoft Office 365 or Gmail (Google Mail) to enabling SMTP AUTH (within your own email domain)
Microsoft Office 365
-
Open the Microsoft 365 admin center and go to Users > Active users.
-
Select the user, and in the flyout that appears, click Mail.
-
In the Email apps section, click Manage email apps.
-
Verify the Authenticated SMTP setting: unchecked = disabled, checked = enabled.
-
When you're finished, click Save changes.
Gmail (Google Mail)
You can allow users to turn on or off access to less secure apps or disable their ability to allow less secure apps.
- In your Google Admin console (at admin.google.com).
-
Go to Menu and then Security > Access and data control > Less secure apps
- To apply the setting to everyone, leave the top organizational unit selected. Otherwise, select a child organizational unit or a configuration group.
- Select the setting for less secure apps:
-
Allow users to manage their access to less secure apps
-
Users can turn on or turn off access to less secure apps.
-
- Click Save. If you configured a child organizational unit, you might be able to Inherit or Override a parent organizational unit's settings.
After setting the above configuration by the admin user, Individual user or sending email account allow to start a less secure app using below URL. By default it is off, You need to make it On.
.png?width=688&height=348&name=image%20(3).png)
-
Next. Setup Email Configuration - in your client portal
1. To set up email notifications for your customers to receive delivery status updates please log into your client portal

2. Click on the location you wish to set up your email notifications for and navigate to the “Email Notification Configuration” tab (top right of navigation in the main window).
Note: This can also be done during the “create an order” step as well. Under “add a delivery” click on the “setup email notification link” above the email notifications box.
Once you’re on the the Email Notification Configuration Tab you will see a form that looks like the following:
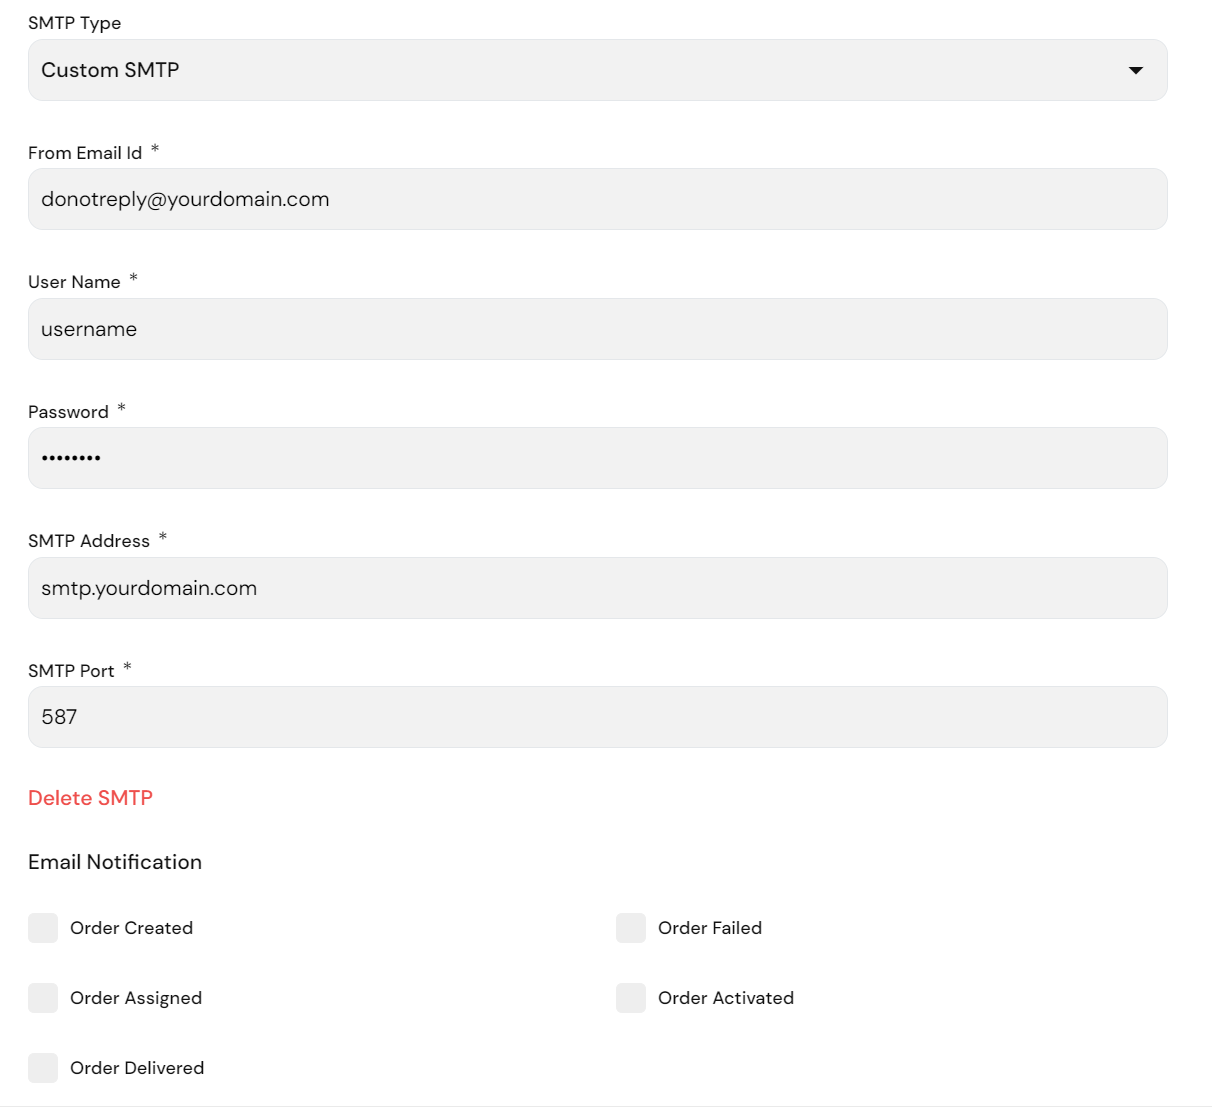
| SMTP Type | Select Custom SMTP from the dropdown menu. |
| Add the “From Email ID” | This is the email domain you wish to use to send emails from. We recommend that this is NOT your primary email address. We suggest you set up a separate email such as “donotreply@yourdomain.com (example donotreply@storetodoorcanada.com) |
| Password |
This is the password you will use when setting up this email account. Again, this is separate from your primary email address. We will not ask for personal email passwords, but we will require a donotreply@yourdomain.com password in order to send email notifications to your customers from your system. |
| SMTP Address | This is the address set by the email domain (ie. set by gmail and other email account providers). Commonly used addresses are below:
|
| SMTP Port | This is the outgoing port in which the email will be sent from. Make sure you check the outgoing port, not the incoming port number.
|
2. Once all of this information is complete, please click on the “Test SMTP Configuration”. An email address pop-up box will appear. Please enter a test email the client would like to receive the test email on. Click Test. If the configuration works, the client should receive a confirmation message on the screen. If not, they will receive a message letting them know that there are errors that need to be corrected.
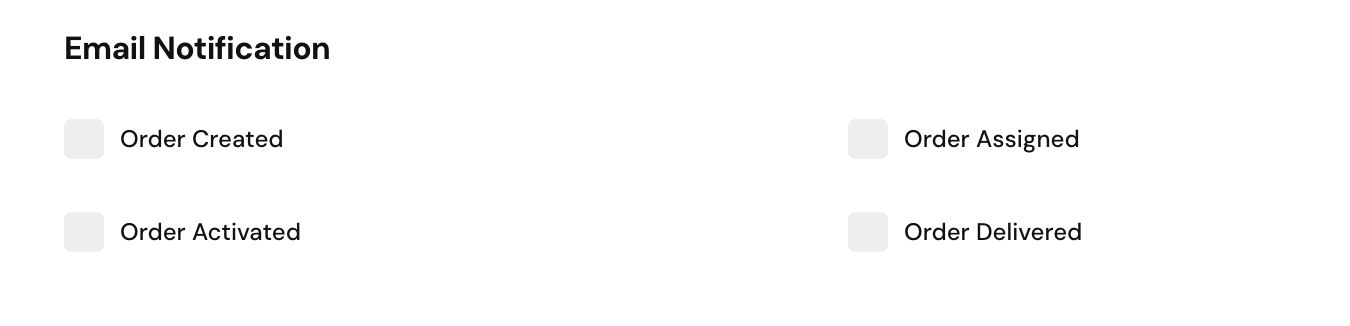
3. Selecting Email Notification Types
The next step will be to turn on specific email notification types your customers will receive during delivery.
4. Once selected, you will have the option to “view” the emails your customers will be receiving just below the Email notification section.

5. Save. Once information is saved, the email notifications feature will work.
Bulk location SMTP Updates
If you require the same Email Notification Information updated for multiple locations, StoreToDoor will help with bulk requests at no charge. This service offering is available for companies with 5 or more locations. Please email support@storetodoorcanada.com for bulk uploads. StoreToDoor Customer Success will notify clients once this is complete. Changes may take up to 48 hrs to populate in client portals.
Email History
Check your email history with your customers by logging into your client portal and clicking on the “Email Logs” section on the left hand menu.
Once you click on Email logs, select Sent Emails to see a list of all email communications with your customers.

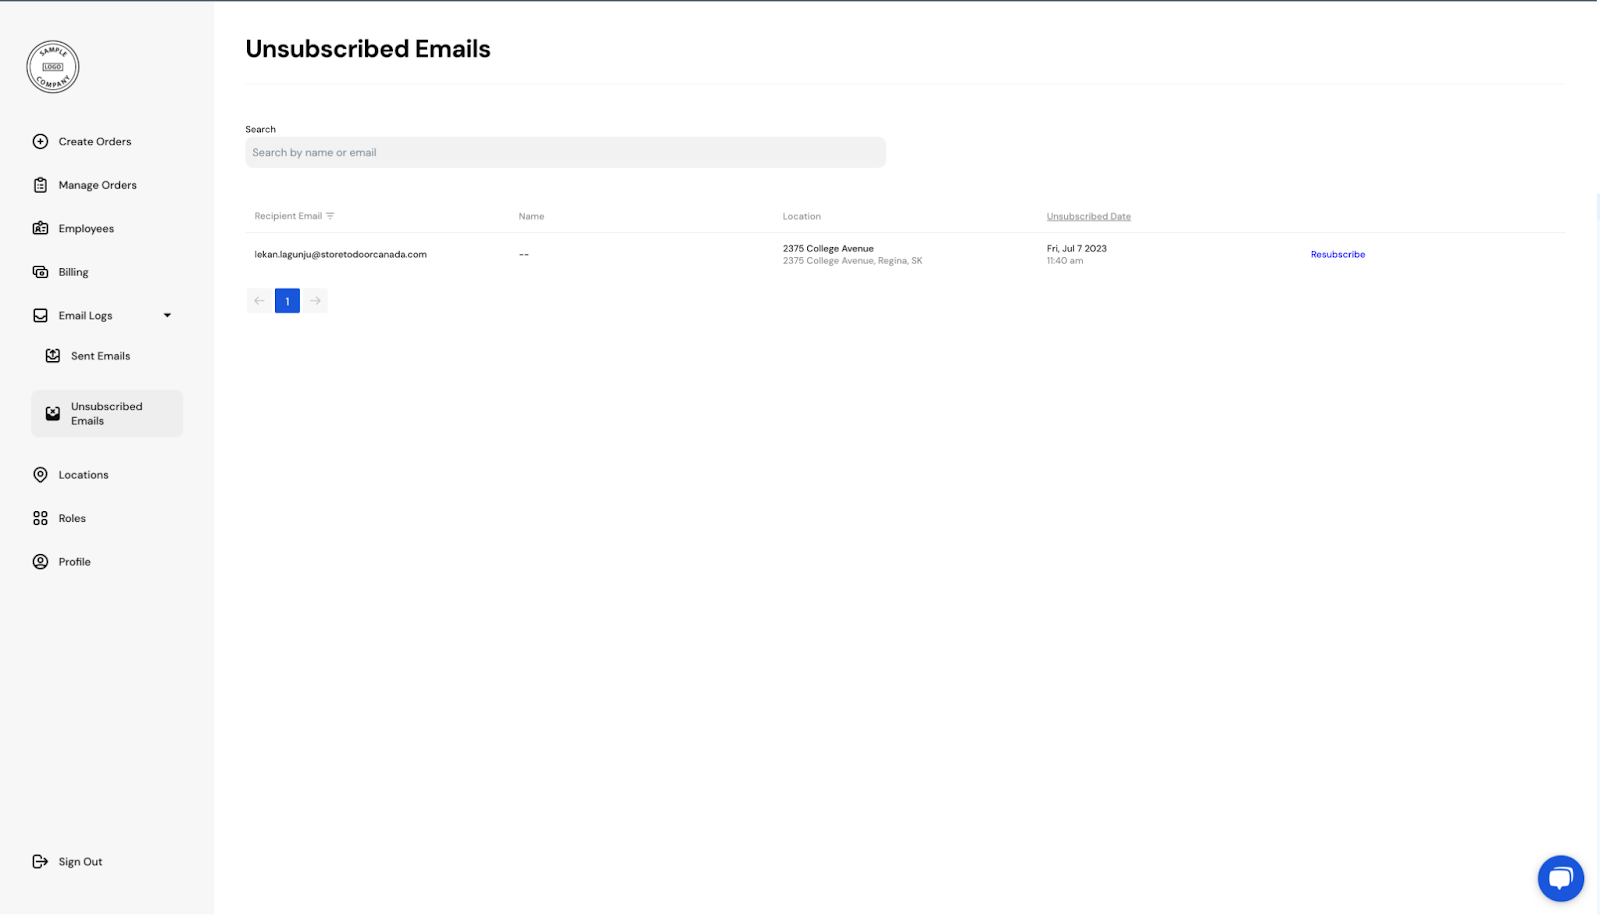
Unsubscribed Emails
To see a list of customers who have unsubscribed from your email notifications log into your client portal, click on Email Logs and then select Unsubscribed Emails.
If a customer would like to resubscribe, simply click on resubscribe to the right of their email address. Once subscribed, customers will start receiving email notifications again.